
How to Make a QR Menu for Your Restaurant (Step by Step)
Making a QR menu takes one afternoon and can cost nothing: pick a platform, enter your dishes, add photos or video, print one code per table and run a test order. This guide walks through all five steps in detail: what to write in descriptions, how to shoot video on a phone, how to print codes that scan in dim light, and how to test the flow before your first guest does.
1. Pick a QR menu platform
The platform decides what your QR code can actually do. A code pointing at a PDF shows a static page. A platform like Disho serves an interactive menu where guests browse video, order from the table and pay with Apple Pay or Google Pay, and where you can change a price in ten seconds.
Ask three questions before committing: can guests order and pay through it, or is it display-only? Can you edit the menu live (mark a dish sold out mid-service, swap in the terrace menu for summer) without reprinting anything? Does it handle photos, video and translations? If you run a ten-line bar menu and don't want table ordering, honestly, a laminated card or a simple PDF may be enough. For everyone else, the interactive route pays for itself. Read what a QR menu is and how it works for the full picture, and open the live demo on your phone to see the guest side first.
2. Create your restaurant and menu
Sign up, create the restaurant, then add sections (starters, mains, desserts, drinks) and dishes. Each dish gets a name, price, description and allergens. Entering a 30-dish menu takes 45-60 minutes. Do it properly once and you'll rarely touch most of it again.
Descriptions deserve five minutes of thought each because they do the selling when the waiter isn't at the table. Keep them to 15-25 words. Lead with the main ingredient, name the technique, end with the detail that makes it yours. "Delicious homemade pasta" tells a guest nothing; "Tagliatelle with slow-braised beef ragù, finished with Parmesan and lemon zest" sells itself. Skip adjective soup ("exquisite", "mouth-watering") and put allergens in the dedicated allergen field, not the prose, because guests filter by it. If writing isn't your thing, Disho generates descriptions with AI for €0.03 per language, and it sticks to the ingredients you enter rather than inventing them. Menu content translates into 12 languages (English, Spanish, French, German, Italian, Russian and more), which matters the moment your first tourist table sits down.
3. Upload dish photos and videos
Media is where a QR menu earns its keep: Grubhub's research found that menus with photos and complete information receive up to 70% more orders and up to 65% higher sales than text-only listings. In Disho each dish plays as a vertical 9:16 autoplay muted video, TikTok-style; dishes with only a photo get a subtle Ken Burns motion effect so nothing looks static.
You can shoot perfectly usable video on the phone in your pocket. The rules: shoot vertical, 10-15 seconds per dish, at the pass the moment the dish is plated, because food looks tired within minutes. Use daylight from a window, never overhead fluorescents alone. Wipe the lens (kitchen grease fogs every shot). Capture one moment of motion: the sauce being poured, steam rising, the cheese pull. Brace your elbows or use a €15 tripod; 1080p is plenty. Batch it: one morning session covers your ten best sellers.
No time or no camera confidence? Generate media from the dashboard: an AI dish photo costs about €0.15 and takes ~45 seconds; an AI video about €2.20 and ~90 seconds. A sane starting strategy is real or AI photos for everything plus video for your top ten dishes. For the deeper "why", read how photos and video change what guests order.
4. Generate and print the QR codes
From the dashboard you print every table's QR in one click. Each code carries its own URL (/r/your-restaurant/t/7), so an order placed from table 7 arrives in the kitchen already tagged "table 7". No shared code, no need to ask who ordered what. A visual floor-plan editor handles multiple rooms and the terrace.
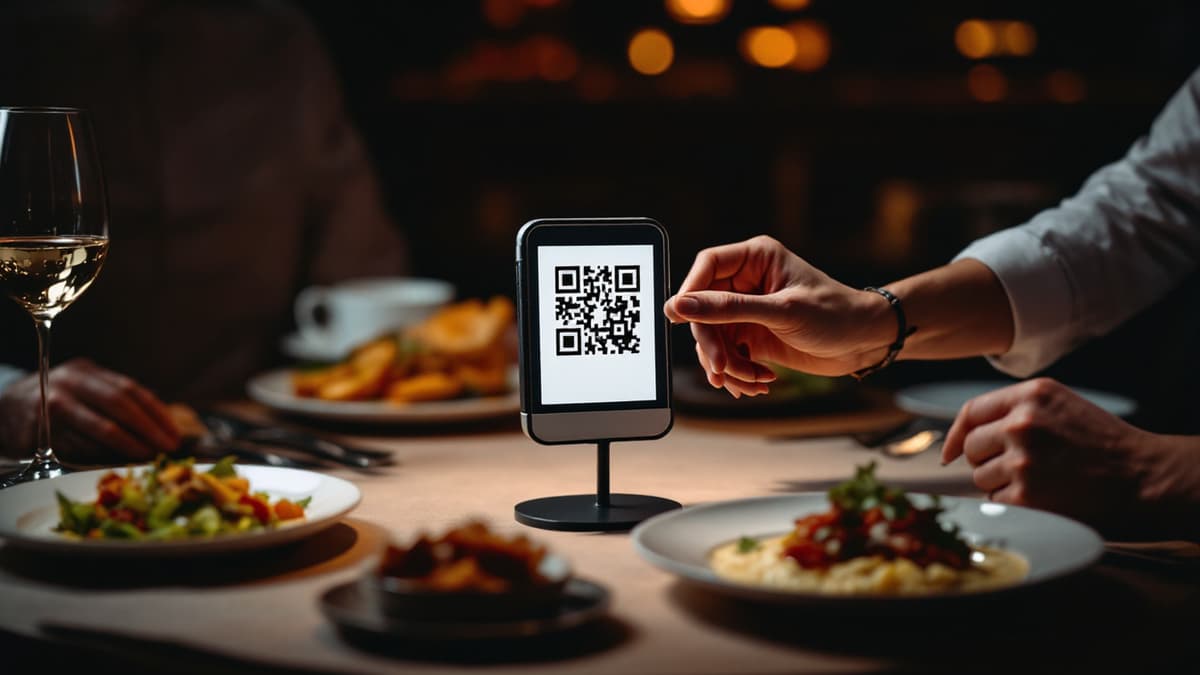
Printing is where good QR menus die, so get the physical details right. Print at least 3×3 cm; 4-5 cm scans faster from a seated position. Dark code on a light background, never inverted, never over a busy photo. Laminate matte, not glossy: glossy pouches glare under warm evening bulbs and phones refuse to focus. Mount in an acrylic stand or stick the code flat on a table corner; either way, test-scan from a chair at arm's length in your actual evening lighting. Replace any code that gets scratched or greasy. A QR that fails on the second try has already lost the guest.
5. Place the QR codes and test the flow
Before the first real service, be your own guest. Scan a code with an iPhone camera and with an Android, on mobile data rather than your staff Wi-Fi, because that's the network your guests are on. Place a test order and watch it land on the kitchen screen in real time with the sound alert, then walk it through the statuses: New → Accepted → Ready → Served.
Test payment with a small real charge: Apple Pay or Google Pay at the table, money going straight to your own Stripe account (Disho adds 1.5% + €0.10 per transaction on top of Stripe's fee). Then brief the floor staff on one sentence: "Scan the code to see the menu with videos and order right here." That single line, said at seating, doubles adoption in the first week.
How long does it take and what does it cost?
A 30-dish menu goes live in one afternoon, for roughly €10 if you shoot your own photos, or about €35 all-in with AI photos everywhere and video on ten signature dishes. The realistic breakdown:
- Sign-up and restaurant setup: 10 min, €0
- Entering 30 dishes with prices and allergens: 45-60 min, €0
- AI descriptions in 2 extra languages: 5 min, ~€1.80
- AI photos for all 30 dishes: 30 min, ~€4.50
- AI video for 10 signature dishes: 20 min, ~€22
- Printing and matte-laminating 15 table codes: 30 min at a copy shop, €8-12
- Test order, test payment, staff briefing: 20 min, €0
The platform itself is free during beta with no limits on tables, dishes or orders. Here's exactly what a free QR menu includes. After beta, the Pro plan is €40/month with a 3-month trial, and beta accounts keep a permanent discount.
Common mistakes to avoid
- Linking the code to a PDF. Guests pinch-zoom, nobody orders, and every price change means re-uploading a file.
- One shared QR for the whole room. Without per-table codes, orders arrive untagged and staff play detective.
- Free third-party QR generators with shortened URLs. Many expire or die with the service; use codes from your menu platform pointing at your own URL.
- Glossy lamination and tiny print. Glare plus a 2 cm code equals guests giving up on the second scan attempt.
- Photos shot at night under warm bulbs. Everything turns orange and murky. Shoot in daylight or generate with AI.
- No translation when you serve tourists. With 12 menu languages available, an English-only or Spanish-only menu is leaving money on international tables.
- Never testing on mobile data. Your Wi-Fi hides the slow-network reality your guests experience.
- Forgetting live edits. The quiet superpower is marking a dish sold out in ten seconds mid-service. Use it before guests order what you don't have.
Frequently asked questions
Can I create a QR menu for a restaurant for free? Yes. Disho is free during beta with no limits on tables, dishes or orders, and beta accounts keep a permanent discount when the €40/month Pro plan arrives. Your only real costs are optional AI media and a few euros of printing.
Do guests need to download an app? No. The menu opens in the phone's browser the moment the camera scans the code. No install, no sign-up, and guests stay anonymous.
What size should a printed QR code be? At least 3×3 cm, ideally 4-5 cm, dark on a light background, with matte lamination. Test-scan it from a seated position in your evening lighting before rolling it out.
Can I still offer a paper menu alongside the QR? Yes, for guests who prefer it. Disho exports the menu to PDF so paper always matches digital; print a few for the host stand.
Do I need to reprint the codes when I change the menu? No. The code points to a URL, not to the content. Edit dishes, prices or photos in the dashboard and every table shows the new version instantly. The printed codes never change.
Build your QR video menu in minutes
Try Disho free during the beta, no card required.
Get started freeRelated articles
Benefits (and Drawbacks) of QR Menus for Restaurants
The real benefits of QR menus — print savings, up to 70% more orders (Grubhub), faster tables — and the honest drawbacks, with fixes. QR menu pros and cons.
QR Menu for Hotels: Room Service, Breakfast and the Pool Bar Without the Phone Call
How a QR menu for hotels fixes room service ordering, feeds multilingual guests, splits breakfast, pool and in-room menus, and upsells with dish video.
QR Menu for Restaurants: How It Works and Why Use One
What is a QR menu and how does a qr code menu work? Setup steps, real costs, honest pros and cons, and when paper is still enough.